
Mazda 3 Service Manual: Brakes SST
|
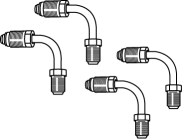
49 D043 0A0 Adapter set |
|
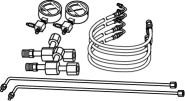
49 U043 0A0A Oil pressure gauge set |
|
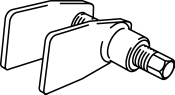
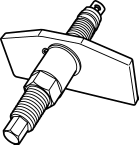
49 0221 600C Disc brake expand tool |
|
|
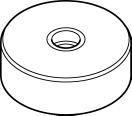
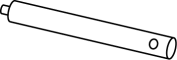
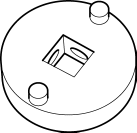
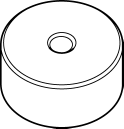
49 B033 001 Installer |
|
49 G033 102 Handle |
|
49 F043 002 Wrench |
|
|
49 B043 005 Compressor |
|
49 B026 301 Installer |
|
— |
|
 Brake/Taillight Bulb Removal/Installation
4SD
1. Disconnect the negative battery cable..
2. Remove the following parts:
a. Trunk mat.
b. Trunk board.
c. Trunk end trim.
3. Partially peel back the trunk side trim..
4. Remove in th ...
 Disc Pad (Front) Replacement [Mzr 2.0, Skyactiv G 2.0, Mzr 2.5]
1. Remove in the order indicated in the table.
2. Install in the reverse order of removal.
3. After installation, pump the brake pedal a few times and verify that the brakes
do not drag.
...
Other materials:
Recommendations for Shifting (for
Vehicles without Gear Shift
Indication)
Upshifting
For normal acceleration, Mazda
recommends these shift points:
(U.S.A. and Canada)
For cruising, Mazda recommends these
shift points:
(U.S.A. and Canada)
Downshifting
When you must slow down in heavy traffic
or on a steep upgrade , downshift before
the engine starts to ov ...
Oil Control Valve (OCV) Inspection [Skyactiv G 2.0]
Coil Resistance Inspection
1. Remove the battery cover..
2. Disconnect the negative battery cable..
3. Remove the plug hole plate..
4. Disconnect the OCV connector.
5. Measure the resistance between terminals A and B using an ohmmeter.
OCV coil resistance
6.9—7.5 ohms [20°C ...
How to use iPod mode (Type A)
An iPod may not be compatible depending
on the model or OS version. In this case,
an error message is displayed.
NOTE
The iPod functions on the iPod cannot
be operated while it is connected to the
unit because the unit controls the iPod
functions.
Playback
Switch the ignition to ACC ...
