Mazda 3 Owners Manual: Antenna (5-Door)
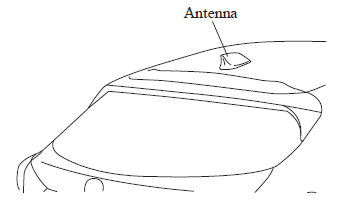
AM/FM Radio Antenna *
The AM/FM radio antenna receives both AM and FM signals.
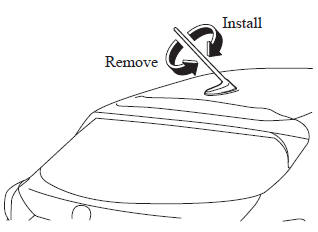
(Type A)
To remove the antenna, turn it counterclockwise.
To install the antenna, turn it clockwise.
Make sure the antenna is securely installed.
CAUTION
|
NOTE When leaving your vehicle unattended, we recommend that you remove the antenna and store it inside the vehicle.
(Type B)
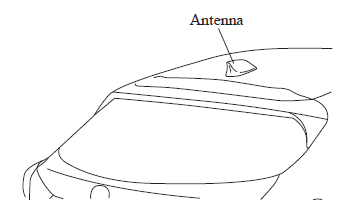
Antenna for AM/FM and Satellite RadioAntenna *
The antenna for AM/FM and satellite radio antenna receives both AM and FM signals and SiriusXM signals.
 Antenna (4-Door)
AM/FM Radio Antenna
The AM/FM radio antenna receives both
AM and FM signals.
The antenna is embedded into the window
glass.
CAUTION
When washing the inside of the
window which has ...
 Operating Tips for Audio System
WARNING
Always adjust the audio while the
vehicle is stopped:
Do not adjust the audio control
switches while driving the vehicle.
Adjusting the audio while driving
the vehicle ...
Other materials:
A/C Unit Disassembly/Assembly
1. Disassemble in the order indicated in the table.
CAUTION:
If a non-specified grease is used, it may result in abnormal noise or improper
operation of the links. Apply only the specified grease to each link.
2. Assemble in the reverse order of disassembly.
X: Applicable— ...
Cooling (With air conditioner)
Set the mode selector dial to the
position.
Set the temperature control dial to the
cold position.
Set the fan control dial to the desired
speed.
Turn on the air conditioner by pressing
the A/C switch.
After cooling begins, adjust the fan
control dial and temperature control
...
Oil Seal (Control Valve Body) Replacement [Fw6 A EL]
1. Remove the battery cover..
2. Disconnect the negative battery cable..
3. Remove the air cleaner component..
4. Disconnect the control valve body connector.
5. Remove the hose clamp.
6. Cut the oil seal using a utility knife as shown in the following illustration.
CAUTION: ...
