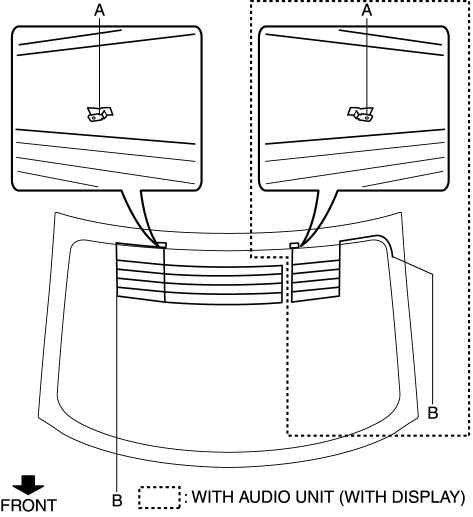
Mazda 3 Service Manual: Glass Antenna Inspection
4SD
1. Disconnect the negative battery cable..
2. Disconnect the antenna amplifier connector B..
3. Disconnect the antenna feeder No.3 connector C. (with audio unit (with display)).
4. Inspect the glass antenna for damage visually.
5. Inspect for continuity between the glass antenna terminals using an ohmmeter.

-
If not as specified, repair the glass antenna..

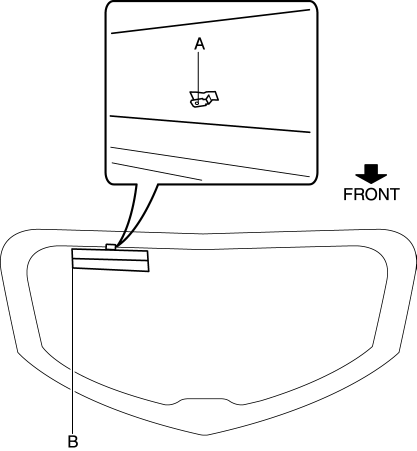
5HB (with audio unit (with display))
1. Disconnect the negative battery cable..
2. Remove the liftgate upper trim..
3. Disconnect the antenna feeder No.7 connector B..
4. Inspect the glass antenna for damage visually.
5. Inspect for continuity between the glass antenna terminals using an ohmmeter.

-
If not as specified, repair the glass antenna..

 Glass Antenna
Purpose, Function
4SD
The AM/FM radio waves and RDS-TMC (Radio Data System-Traffic Message Channel)
radio waves are converted to an electrical signal and the signal is sent to
the audio ...
 Installation Of Radio System
The control modules and control unit have been designed with sufficient attention
to radio wave disturbances from the outside. However, observe the following precautions
when installing the radio ...
Other materials:
Instrument Cluster Removal/Installation
CAUTION:
When replacing the instrument cluster, the configuration procedure must be
performed before removing the instrument cluster. Replacing the instrument cluster
without performing the configuration procedure will result in system malfunction.
1. Perform the instrument clust ...
Transaxle Range (TR) Switch Removal/Installation [FS5 A EL]
CAUTION:
Water or foreign objects entering the connector can cause a poor connection
or corrosion. Be sure not to drop water or foreign objects on the connector
when disconnecting it.
1. Engage the parking brake and use wheel chocks at the front and rear of the
wheels.
2. Shi ...
Manual Transaxle Shift Mechanism Removal/Installation [G35 M R]
1. Remove the battery cover..
2. Disconnect the negative battery cable.
3. Remove the battery component. (ex: battery, battery tray and PCM component).
4. Remove the air cleaner component..
5. Remove the aerodynamic under cover NO.2..
6. Remove the tunnel member (rear)..
7. Remove the u ...
