Mazda 3 Owners Manual: Maintenance Monitor (Type A audio)
“Oil Change” with a flexible setting *1 is available. Consult your Authorized Mazda Dealer when you want to change the setting *2 . Once the system turns on, the wrench indicator light in the instrument cluster will be illuminated when remaining oil life becomes less than 500 km (300 mile), or remaining days are less than 15 (whichever comes first).
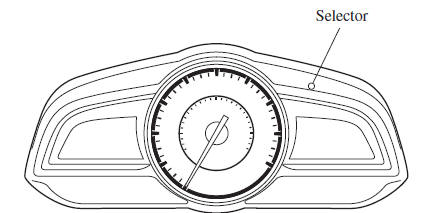
Reset method
Press and hold the selector with the ignition switched off, then switch it on. Keep pressing the selector for more than 5 seconds. The master warning light will flash for a few seconds when the reset is completed.
*1 The flexible setting is available in the United States and Puerto Rico. Based on the engine operating conditions, the onboard computer in your vehicle calculates the remaining oil life. Mazda Genuine 0W-20 oil and Castrol ® 0W-20 oil are required to achieve optimum calculation performance.
*2 Once the Flexible Oil Maintenance Setting is selected, the system must be reset whenever replacing the engine oil.

 Maintenance Monitor (Type B audio)
Select the icon on the
home screen to display the “Applications” screen.
Select “Maintenance” to display the maintenance list screen.
Switch the tab and select the setting item you ...
Other materials:
Starting the Engine
WARNING
Radio waves from the key may aff ect
medical devices such as pacemakers:
Before using the key near people who
use medical devices, ask the medical
device manufacturer or your physician
if radio waves from the key will aff ect
the device.
NOTE
The key mus ...
Shift position
Choose the appropriate shift position in your Subaru Solterra according
to your driving needs, road conditions, and intended operation.
Shift position purpose and functions
In the Subaru Solterra, the shift system is designed to deliver smooth, intuitive
control while maximizing safety a ...
Front Door Glass Removal/Installation
1. To access the glass installation bolt, position the front door glass so that
the distance from the top of the front door glass to the upper part of the front
beltline molding is approx. 80 mm {3.1 in}.
2. Disconnect the negative battery cable..
3. Remove the inner garnish..
4. Remov ...
