Mazda 3 Owners Manual: Child-Restraint System Installation
Child-Restraint System Types
In this owner's manual, explanation of child-restraint systems is provided for the following three types of popular childrestraint systems: infant seat, child seat, booster seat.
NOTE
- Installation position is determined
by the type of child-restraint system.
Always read the manufacturer's instructions and this owner's manual carefully.
- Due to variations in the design of childrestraint systems, vehicle seats and seat belts, all child-restraint systems may not fit all seating positions. Before purchasing a child-restraint system, it should be tested in the specific vehicle seating position (or positions) where it is intended to be used. If a previously purchased child-restraint system does not fit, you may need to purchase a different one that will.
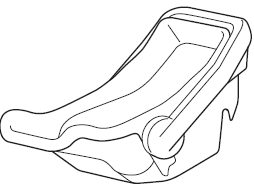
Infant seat
An infant seat provides restraint by bracing the infant's head, neck and back against the seating surface.
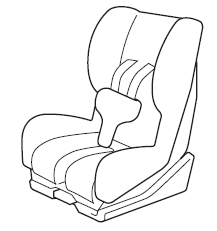
Child seat
A child seat restrains a child's body using the harness.
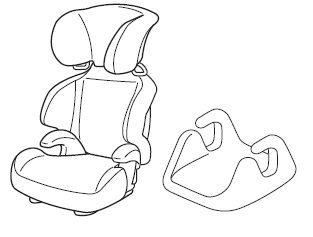
Booster seat
A booster seat is a child restraint accessory designed to improve the fit of the seat belt system around the child's body.
 Child-Restraint Precautions
Mazda strongly urges the use of child-restraint systems for children small
enough to use
them.
You are required by law to use a child-restraint system for children in the U.S.
and Canada.
C ...
 Installing Child-Restraint Systems
Accident statistics reveal that a child is
safer in the rear seat. The front passenger's
seat is clearly the worst choice for any
child under 12, and with rear-facing childrestraint
systems it is ...
Other materials:
How To Use This Manual
Range of Topics
This manual contains procedures for performing all required service operations.
The procedures are divided into the following five basic operations:
Removal/Installation
Disassembly/Assembly
Replacement
Inspection
Adj ...
Parking Brake Lever Removal/Installation
1. Remove the following parts:
a. Upper panel.
b. Shift knob (MTX).
c. Selector lever knob (ATX).
d. Shift panel.
e. Side wall.
f. Console.
2. Remove in the order indicated in the table.
3. Install in the reverse order of removal.
4. After installation, inspect the parking brake le ...
Relay Block Removal/Installation [With Advanced Keyless Entry And Push Button
Start System]
1. Disconnect the negative battery cable..
2. Remove the following parts:
a. Driver-side front scuff plate.
b. Driver-side front side trim.
c. Hood release lever.
d. Upper panel.
e. Shift knob (MTX)(See MANUAL TRANSAXLE SHIFT MECHANISM REMOVAL/INSTALLATION
[G66M-R].)(See MANUAL TRANSAX ...
