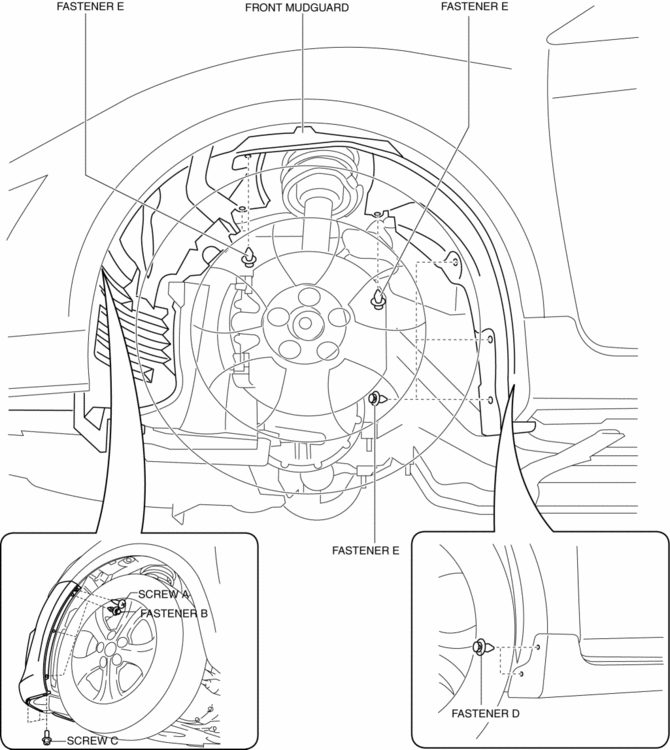
Mazda 3 Service Manual: Front Mudguard Removal/Installation
1. Remove screw A, fasteners B, screws C, fasteners D, and E.
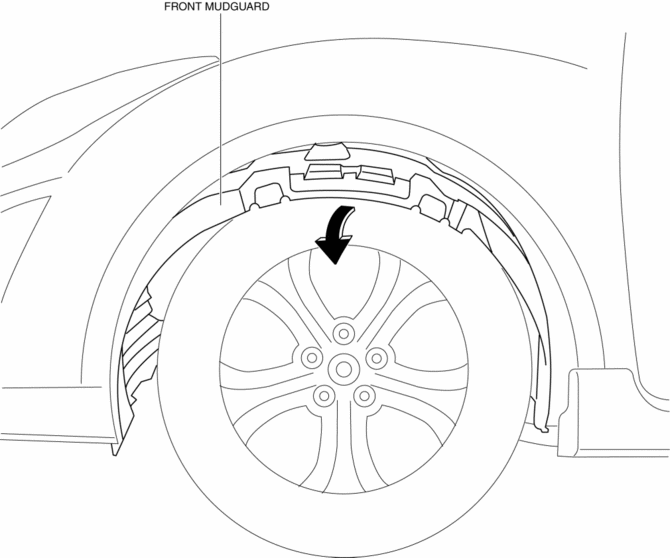
2. Remove the front mudguard in the direction of the arrow shown in the figure.
3. Install in the reverse order of removal.
 Front Fender Panel Removal/Installation
1. Disconnect the negative battery cable..
2. Remove the following parts:
a. Front bumper.
b. Front combination light.
c. Front fender molding.
d. Side step molding.
3. Remove fasteners an ...
 Rear Beltline Molding Removal/Installation
1. Fully open the rear door glass.
2. Remove the rear door trim..
3. Remove clip A using a fastener remover and pull up the rear beltline molding
in the direction of the arrow (1) shown in the f ...
Other materials:
Vacuum Line Inspection
MZR 2.0, MZR 2.5, MZR 2.3 DISI Turbo
1. Remove the vacuum hose..
2. Verify that air can be blown from the power brake unit side of the vacuum
hose towards the intake manifold side, and that air cannot be blown in the opposite
direction.
If there is any malfunction of the inner che ...
Steering Switch Inspection
Without Bluetooth System
WARNING:
Handling the air bag module improperly can accidentally deploy the air bag
module, which may seriously injure you. Read the air bag system service warnings
and cautions before handling the air bag module..
1. Disconnect the negative battery cabl ...
Driving range
The driving range displayed on the multi-information display of the
Subaru Solterra represents an estimated reference distance based on current conditions.
The actual distance that can be traveled may vary depending on multiple factors
and may differ from the displayed value.
Displayed value
...
