
Mazda 3 Service Manual: Front Fog Light Bulb Removal/Installation
Except Mazdaspeed3
1. Disconnect the negative battery cable..
2. Slightly bend back the mudguard..
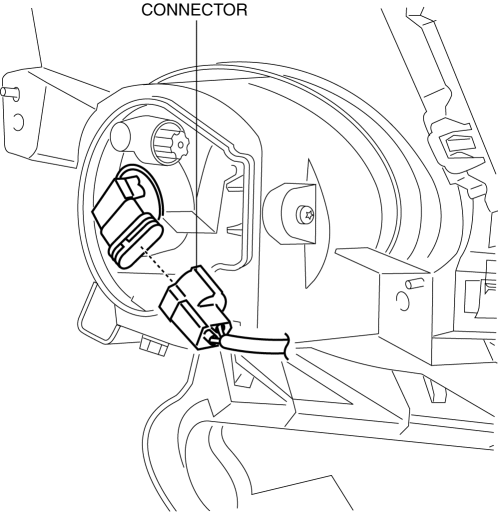
3. Disconnect the connector.
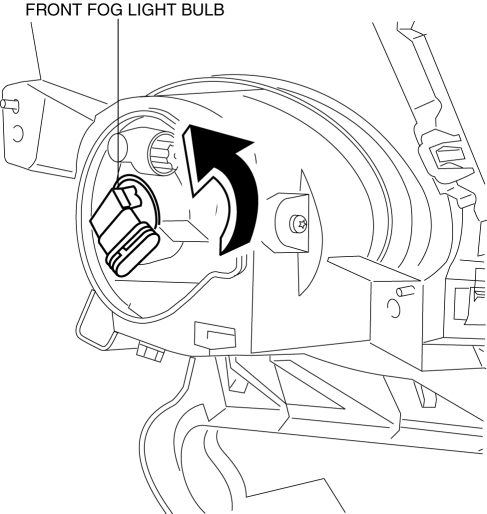
4. Rotate the front fog light bulb in the direction of the arrow shown in the figure.
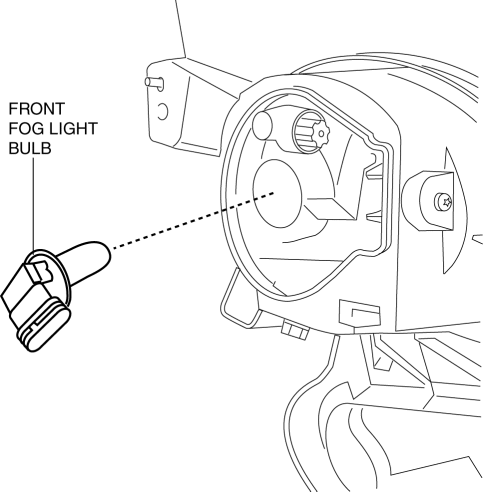
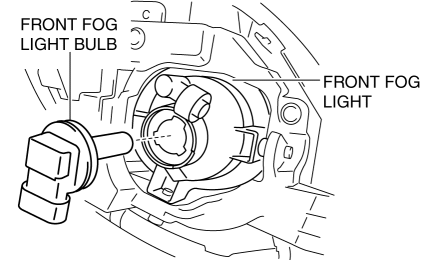
5. Remove the front fog light bulb.
CAUTION:
-
A halogen bulb generates extremely high heat when it is used. If the surface of the bulb is soiled, excessive heat will build up and the light’s life will be shortened. When replacing the bulb, hold the metal flange, not the glass.
6. Install in the reverse order of removal.
Mazdaspeed3
1. Disconnect the negative battery cable..
2. Slightly bend back the mudguard..
3. Disconnect the connector.
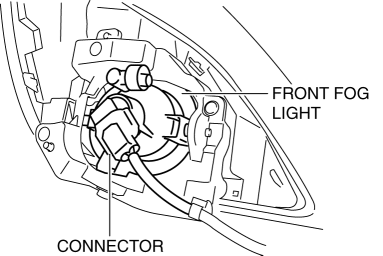
4. Rotate the front fog light bulb in the direction of the arrow shown in the figure.
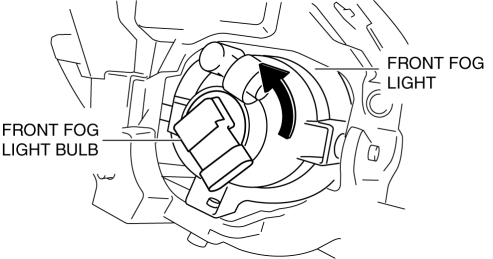
5. Remove the front fog light bulb.
CAUTION:
-
A halogen bulb generates extremely high heat when it is used. If the surface of the bulb is soiled, excessive heat will build up and the light’s life will be shortened. When replacing the bulb, hold the metal flange, not the glass.
6. Install in the reverse order of removal.
 Front Fog Light Aiming
CAUTION:
If the front fog light aiming is adjusted with cargo in the vehicle, it may
not adjust correctly. Adjust the front fog light aiming with the vehicle under
the following conditio ...
 Front Fog Light Relay Removal/Installation
1. Disconnect the negative battery cable..
2. Remove the front mudguard.(RH).
3. Remove the front fog light relay case.
4. Remove the cover.
5. Remove the front fog light relay.
6. Insta ...
Other materials:
Canister Vent (Cv) Solenoid Valve Inspection [Mzr 2.0, Mzr 2.5]
Except for Mexico
Airflow inspection
1. Remove the battery cover..
2. Disconnect the negative battery cable..
3. Remove the CV solenoid valve..
4. Inspect airflow between the ports under the following conditions.
Measured condition
Continuity between A ...
Oil Seal (Differential) Replacement [G35 M R]
1. On level ground, jack up the vehicle and support it evenly on safety stands.
2. Remove the aerodynamic under cover No.2..
3. Drain the oil from the transaxle..
4. Remove the front splash shield..
5. Separate the drive shaft and joint shaft from the transaxle..
6. Remove the oil seals u ...
Heater, Ventilation And Air Conditioning
Abbreviation
A/C
Air Conditioning
Features
The full-auto air conditioner has been adopted for vehicles with SKYACTIV-G
2.0.
Specifications
Full-auto air conditioner
Basic system
Item
Specification
...
