
Mazda 3 Service Manual: Brakes SST
|
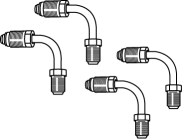
49 D043 0A0 Adapter set |
|
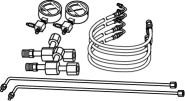
49 U043 0A0A Oil pressure gauge set |
|
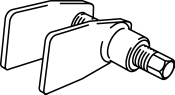
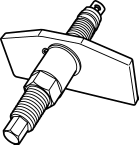
49 0221 600C Disc brake expand tool |
|
|
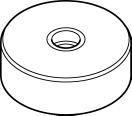
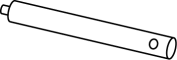
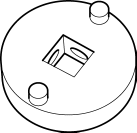
49 B033 001 Installer |
|
49 G033 102 Handle |
|
49 F043 002 Wrench |
|
|
49 B043 005 Compressor |
|
49 B026 301 Installer |
|
— |
|

 Brake/Taillight Bulb Removal/Installation
4SD
1. Disconnect the negative battery cable..
2. Remove the following parts:
a. Trunk mat.
b. Trunk board.
c. Trunk end trim.
3. Partially peel back the trunk side trim..
4. Remove in th ...
 Disc Pad (Front) Replacement [Mzr 2.0, Skyactiv G 2.0, Mzr 2.5]
1. Remove in the order indicated in the table.
2. Install in the reverse order of removal.
3. After installation, pump the brake pedal a few times and verify that the brakes
do not drag.
...
Other materials:
Positive Crankcase Ventilation (PCV) Valve Removal/Installation [Mzr 2.0, Mzr
2.5]
1. Remove the battery cover..
2. Disconnect the negative battery cable..
3. Remove the intake manifold and the fuel distributor component as a single
unit..
4. Remove in the order indicated in the table.
1
Oil separator
2
Retainer
...
Setting the tire pressure
■ When you need to setting the tire pressure
For the Subaru Solterra, recalibration of the tire pressure system is required
in specific situations to ensure accurate monitoring and optimal driving safety.
The tire pressure setting procedure should be performed whenever system conditions
cha ...
Power Systems Personalization Features Setting Procedure
NOTE:
Use the IDS (laptop PC) because the PDS (Pocket PC) does not support the
POWER SYSTEMS PERSONALIZATION FEATURES SETTING PROCEDURE.
1. Connect the M-MDS to the DLC–2.
2. After the vehicle is identified, select the following items from the initial
screen of the M-MDS. ...
