Mazda 3 Service Manual: Extractor Chamber Removal/Installation
1. Disconnect the negative battery cable..
2. Remove the rear combination light..
3. Remove the rear bumper..
4. Remove the clips.
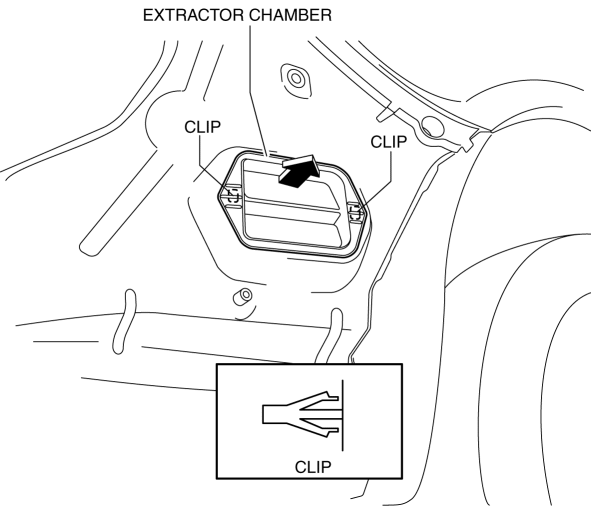
5. Install in the reverse order of removal.
 Energy Absorbing Form Removal/Installation
1. Disconnect the negative battery cable..
2. Remove the rear combination light..
3. Remove the rear bumper..
4. Remove the fasteners.
5. Remove the rear energy-absorbing form.
6. Instal ...
 Floor Under Cover Removal/Installation
1. Lift up the vehicle.
2. Remove the cap nuts.
3. Remove the nus.
4. Pull the floor under covers in the direction of arrow (1), (2), (3) shown
in the figure, and then remove it.
5. ...
Other materials:
Manifold Absolute Pressure (Map) Sensor/Boost Air Temperature Sensor Removal/Installation
[Mzr 2.3 Disi Turbo]
NOTE:
Because the boost air temperature sensor is integrated in the MAP sensor,
replacing the boost air temperature sensor includes replacement of the MAP sensor/boost
air temperature sensor.
1. Remove the battery cover..
2. Disconnect the negative battery cable..
3. Remove t ...
No.6 Bsm Indicator Light Flashes While Not Under Bsm Indicator Light Flashing
Conditions (No Combination Switch Operation (Turn Signal Switch)) [Blind Spot Monitoring
(Bsm)]
6
BSM indicator light flashes while not under BSM indicator light-flashing
conditions (no combination switch operation (turn signal switch)
Description
The BSM indicator light flashes despite not satisfying the BSM indicator
l ...
Sunvisor Removal/Installation
1. Disconnect the negative battery cable..
2. Remove the screw.
3. Rotate the sunvisor in the direction of the arrow.
4. Unhook and remove the sunvisor.
5. Disconnect the vanity mirror illumination connector. (Vehicles with vanity
mirror illumination)
6. Press the center adaptor tabs ...
