Mazda 3 Service Manual: Rear Drain Hose Removal
1. Disconnect the negative battery cable.
2. Remove the rain sensor cover. (Vehicles with auto light/wiper system).
3. Disconnect the rain sensor connector. (Vehicles with auto light/wiper system)
4. Partially peel back the seaming welt.
5. Remove the following parts:
a. Sunroof seaming welt
b. A-pillar trim.
c. Front scuff plate.
d. Rear scuff plate.
e. B-pillar lower trim.
f. Upper anchor of the front seat belt.
g. B-pillar upper trim.
h. Rear seat cushion.
i. Tire house trim.
j. Trunk side upper trim (5HB).
k. C-pillar trim.
l. Map light.
m. Sunvisor.
n. Assist handle.
o. Headliner.
6. Disconnect the dimming mirror connector. (vehicles with dimming mirror)
7. Disconnect the rain sensor connector. (vehicles with rain sensor)
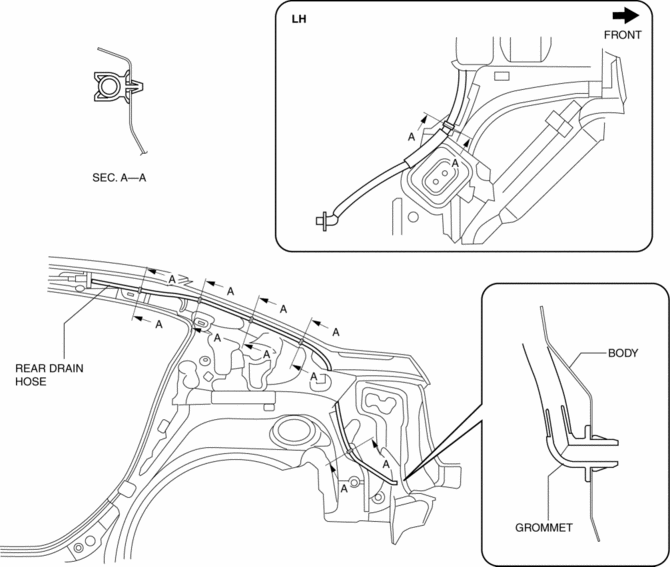
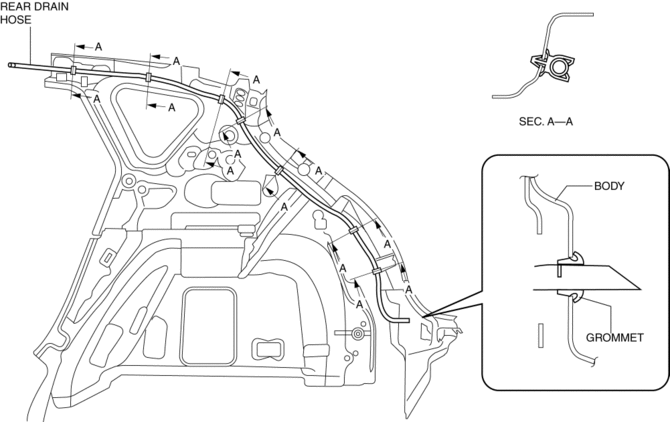
8. Disconnect the rear drain hose from the sunroof frame.
9. Remove the rear drain hose from the clips.
10. Pull the rear drain hose into the room side.
11. Remove the rear drain hose.
4SD
5HB
 Rear Drain Hose Installation
CAUTION:
If the rear drain hose is pinched or bent anywhere, the water in the hose
may not discharge and enter the inside of the vehicle. During and after installation
of the trims and t ...
 Roof Carrier Bracket Removal/Installation
4SD
1. Disconnect the negative battery cable..
2. Remove the following parts:
a. Sunroof seaming welt (vehicles with sunroof)
b. Front scuff plate.
c. Rear scuff plate.
d. A-pillar trim.
...
Other materials:
Purge Solenoid Valve Removal/Installation [Mzr 2.0, Mzr 2.5]
1. Remove the battery cover..
2. Disconnect the negative battery cable..
3. Remove in the order indicated in the table.
1
Purge solenoid valve connector
2
Evaporative hose
(See Evaporative Hose Installation Note.)
3
...
Antenna (5-Door)
AM/FM Radio Antenna *
The AM/FM radio antenna receives both
AM and FM signals.
(Type A)
To remove the antenna, turn it
counterclockwise.
To install the antenna, turn it clockwise.
Make sure the antenna is securely
installed.
CAUTION
To prevent damage to the antenna,
r ...
Power sources that can be used
To properly charge the Subaru Solterra, it is essential to use an
external power source that fully meets the specified electrical requirements. Always
verify that the selected power source complies with these conditions before initiating
the charging process to ensure safe and efficient operat ...
