Mazda 3 Service Manual: Instrument Cluster Disassembly/Assembly
CAUTION:
-
Do not drop the instrument cluster or damage the printed board. This will lead to a system malfunction.
1. Perform the instrument cluster configuration when replacing it..
2. Disconnect the negative battery cable..
3. Remove the column cover. (upper).
4. Remove the instrument cluster..
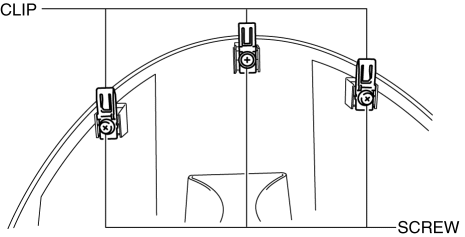
5. Remove the screws and clips.
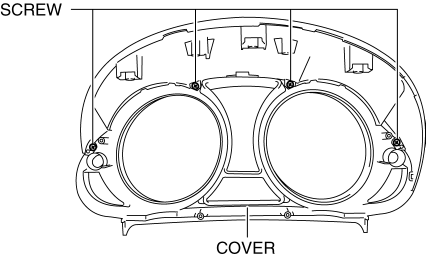
6. Remove the screws.
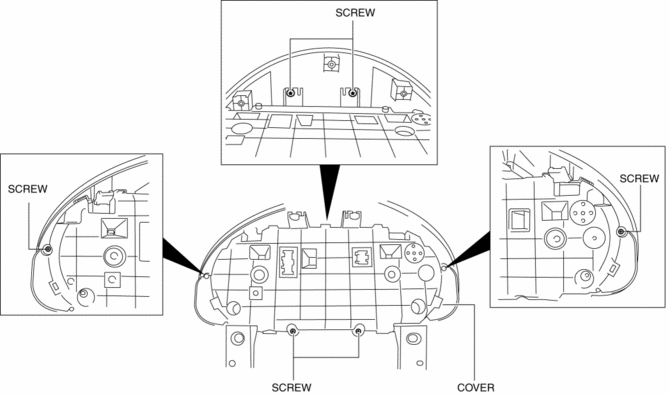
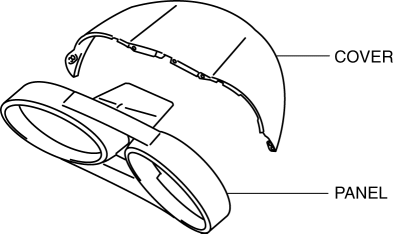
7. Remove the cover.
8. Remove the screws from the cover.
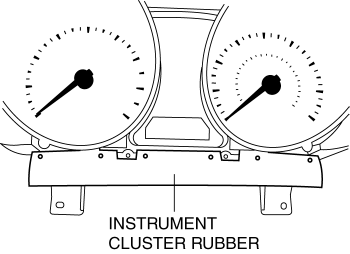
9. Remove the instrument cluster rubber.
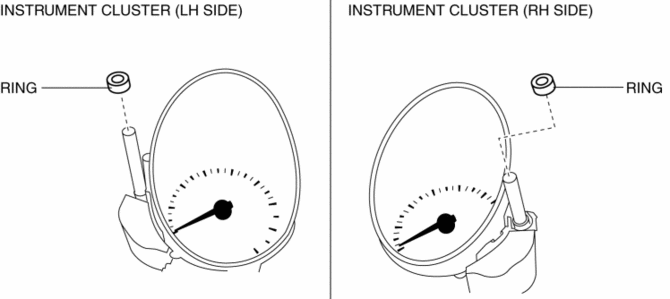
10. Remove the rings.
11. Detach the tabs
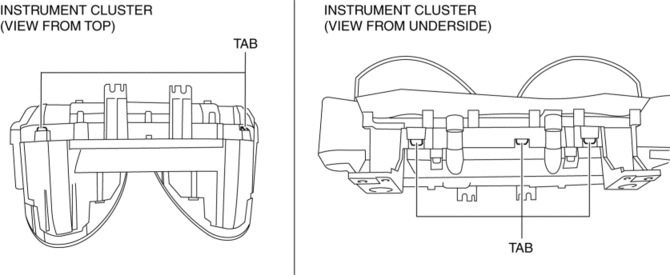
12. Detach the tabs.

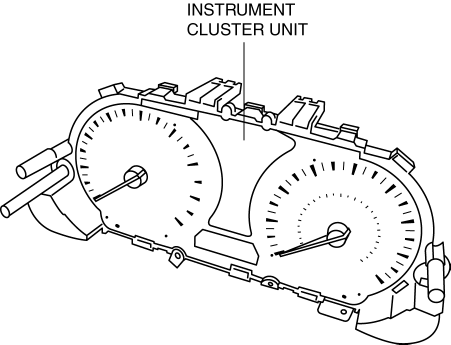
13. Remove the lens.
14. Assemble in the reverse order of disassembly.
 Instrument Cluster Configuration
1. Connect the M-MDS (IDS) to the DLC-2.
2. After the vehicle is identified, select the following items from the initialization
screen of the IDS.
Select the “Module Programming”.
...
 Instrument Cluster Inspection
Speedometer
Using a speedometer tester
CAUTION:
When only the front or the rear wheels are driven using a speedometer tester,
the ABS or DSC may determine that the vehicle speed signal is ...
Other materials:
Quick Release Connector (Emission System) Removal/Installation [Mzr 2.0, Mzr
2.5]
Quick Release Connector Type
CAUTION:
Verify the type and location, and install/remove properly.
Except for Mexico
Mexico
Type A Removal
CAUTION:
Be careful not to damage the evaporative pipe when unlocking the retainer.
NOTE:
When removing the quick r ...
M Position Switch Inspection [FS5 A EL]
1. Perform the following procedures.
a. Remove the battery cover..
b. Disconnect the negative battery cable.
c. Remove the console..
d. Disconnect the selector lever component connector.
2. Inspect the continuity between the selector lever component terminals A and
H.
If ...
Transaxle Range (TR) Switch Removal/Installation [FS5 A EL]
CAUTION:
Water or foreign objects entering the connector can cause a poor connection
or corrosion. Be sure not to drop water or foreign objects on the connector
when disconnecting it.
1. Engage the parking brake and use wheel chocks at the front and rear of the
wheels.
2. Shi ...
